
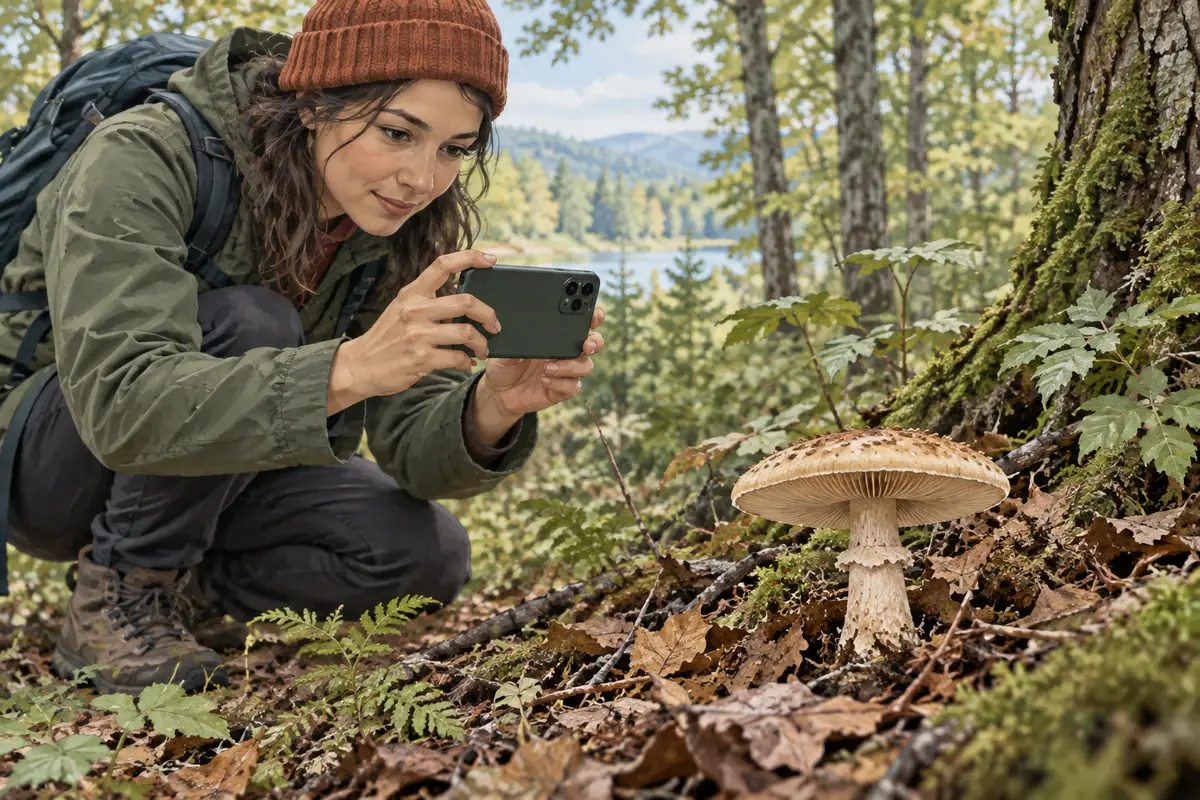
Short answer: Good mushroom foraging starts before picking. Check access rules, photograph the mushroom where it grows, note the substrate and nearby trees, and capture the cap, side, underside, stem, and base when visible. A photo identifier can organize likely visual matches and lookalikes, but it cannot prove species, edibility, toxicity, or safe handling. When a question affects a person or pet, stop comparing photos and contact an appropriate local professional.
Start with a responsible plan
Before the walk: make observation the first goal
Mushroom foraging is a field observation task before it is a collecting task. Choose a place where you are allowed to walk and photograph, check whether collection is restricted, and learn whether the land manager asks visitors to leave fungi in place. A quiet plan also reduces the urge to make a quick eating decision from a partial view.
Pack a phone or camera, a small notebook, a pencil, a ruler for scale, and a regional mushroom field guide. Keep the lens clean and the battery charged, but remember that a device is only a record-keeping aid. It cannot replace a local expert, a specialist guide, or poison-control advice. Plan to photograph first and decide later whether a qualified person needs a specimen.
- Confirm access and collection rules for the exact park, forest, trail, or private property.
- Choose a route with daylight, stable footing, and a way to return without rushing your observations.
- Keep unknown mushrooms away from food, children, and pets; do not taste or sniff closely to improve an identification.
Build better evidence
The five-photo mushroom foraging checklist
A strong field record is a small sequence, not a single glamour shot. Start with the mushroom in its surroundings, then move closer while keeping the camera steady and the light even. The goal is to show relationships: how the stem meets the ground, whether the underside attaches to the stem, and whether the mushroom grows from soil, moss, leaf litter, or wood.
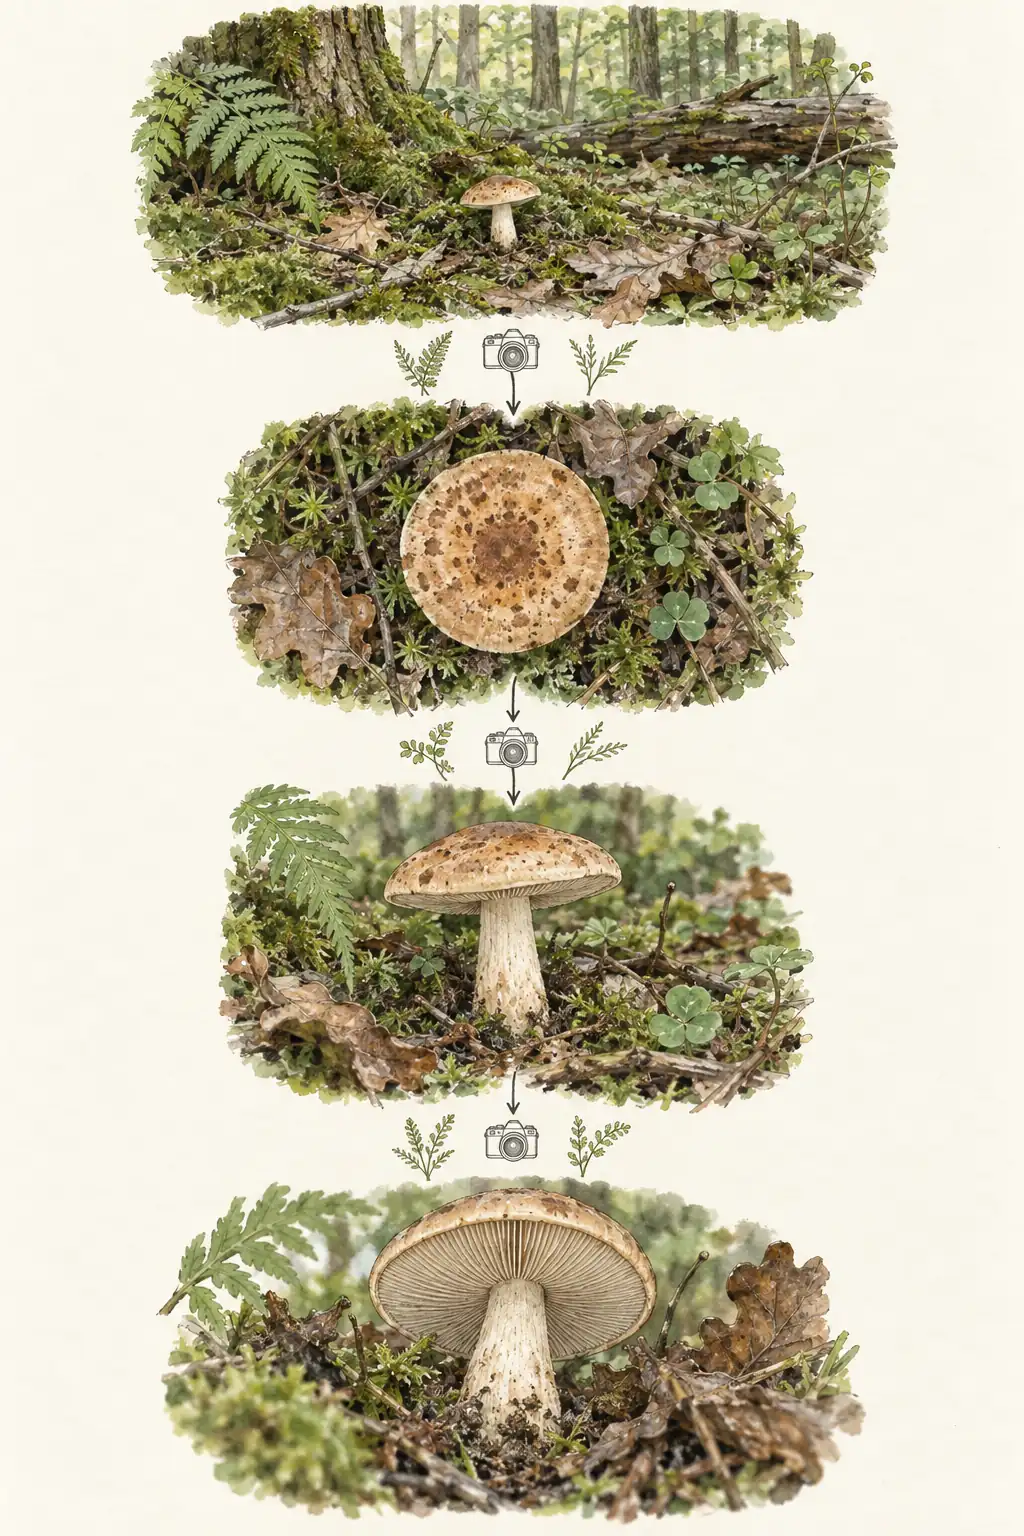
1. Wide habitat frame
Show the surrounding ground, fallen wood, moss, leaf litter, nearby plants, and whether the mushroom is solitary or clustered. Include a rough scale reference without placing an object against the specimen. This frame helps a reader understand the growth setting rather than only the cap.
2. Cap view from above and from the side
The top view shows outline, center, margin, scales, fibers, zones, cracks, or shine. The side view shows profile, thickness, and how the cap sits over the stem. Use observational language such as convex, depressed, smooth, scaly, or wavy; do not turn a shape into a species claim.
3. Underside and attachment
Aim the camera under the cap to show gills, pores, teeth, or folds. Capture the point where the fertile surface meets the stem and keep glare from hiding spacing or branching. This is often more useful for comparison than a brighter top-down photo.
4. Stem and base
Show stem thickness, texture, ring or other visible structures, and the base when it is already exposed. Do not dig up an unknown mushroom solely to improve an image. A clear note that the base is hidden is safer than an invented detail.
5. A short field note
Write what the camera cannot preserve: recent rain, smell noticed only at a safe distance, texture observed without risky handling, host tree, growth pattern, and any change over time. These notes guide a later comparison but do not override the visible evidence.
Add context, not certainty
Habitat, season, and substrate notes
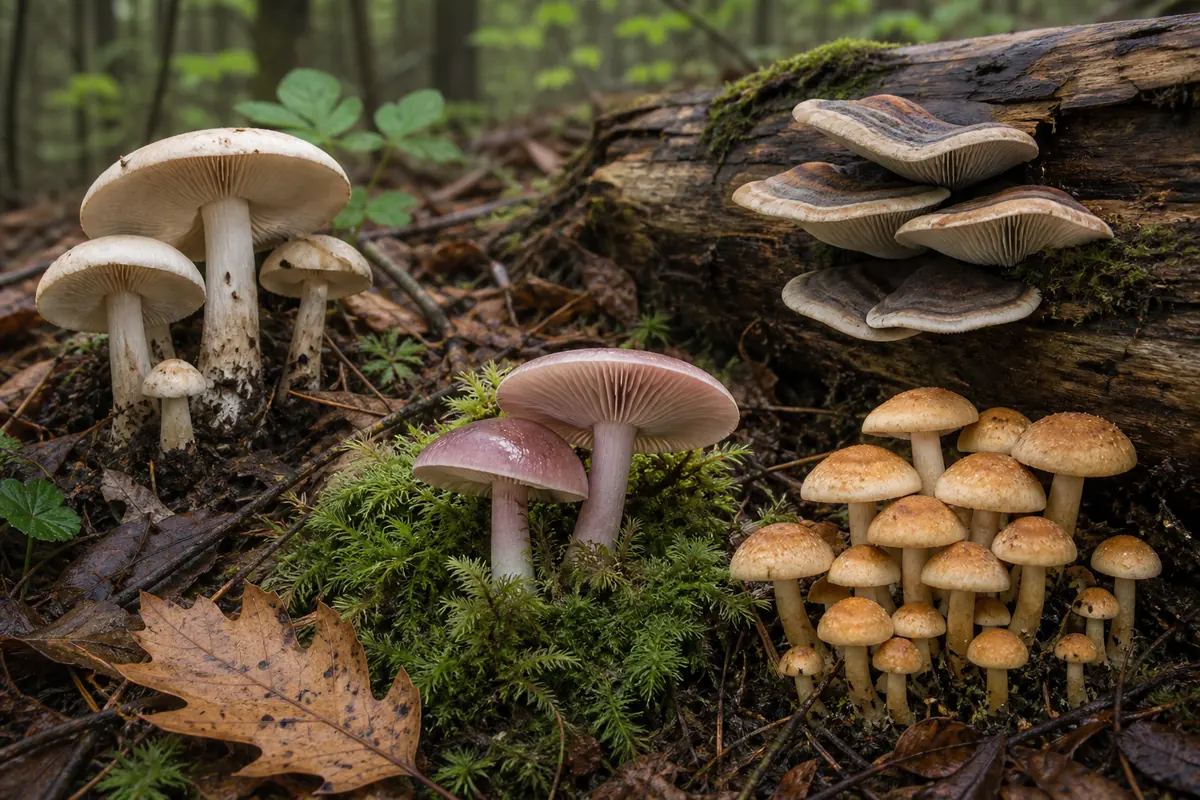
Habitat and season can narrow a search, especially when a field guide describes associations with living trees, decaying wood, soil, moss, or a particular fruiting period. They are context clues rather than a shortcut. Many unrelated mushrooms share a forest, a season, or a damp patch, and a familiar habitat does not make a visual match safe to eat.
Describe the setting in plain language: on soil or wood, under a broadleaf or conifer, in a single cap or a cluster, in open grass or deep shade, and after dry or wet weather. If you do not know the tree or substrate, say that. Honest uncertainty produces a better research question than a precise-looking but unsupported label.
Use the right tool for the right job
How to use a photo identifier while foraging
An online mushroom identifier is useful when it helps you organize a visual question. Upload the clearest frame, review the likely match and broad group, read the visible clues, and check the possible lookalikes. Then compare those candidates with a regional field guide or a qualified local expert. The output should tell you what to photograph next, not what to put in a basket for dinner.
Use the result as a prompt for better observation. If the tool cannot see the underside, return with an underside frame. If two candidates remain close, record both and ask what feature separates them. A broad or uncertain result is not a failure; it is an accurate reminder that the image does not contain enough evidence for a narrower claim.
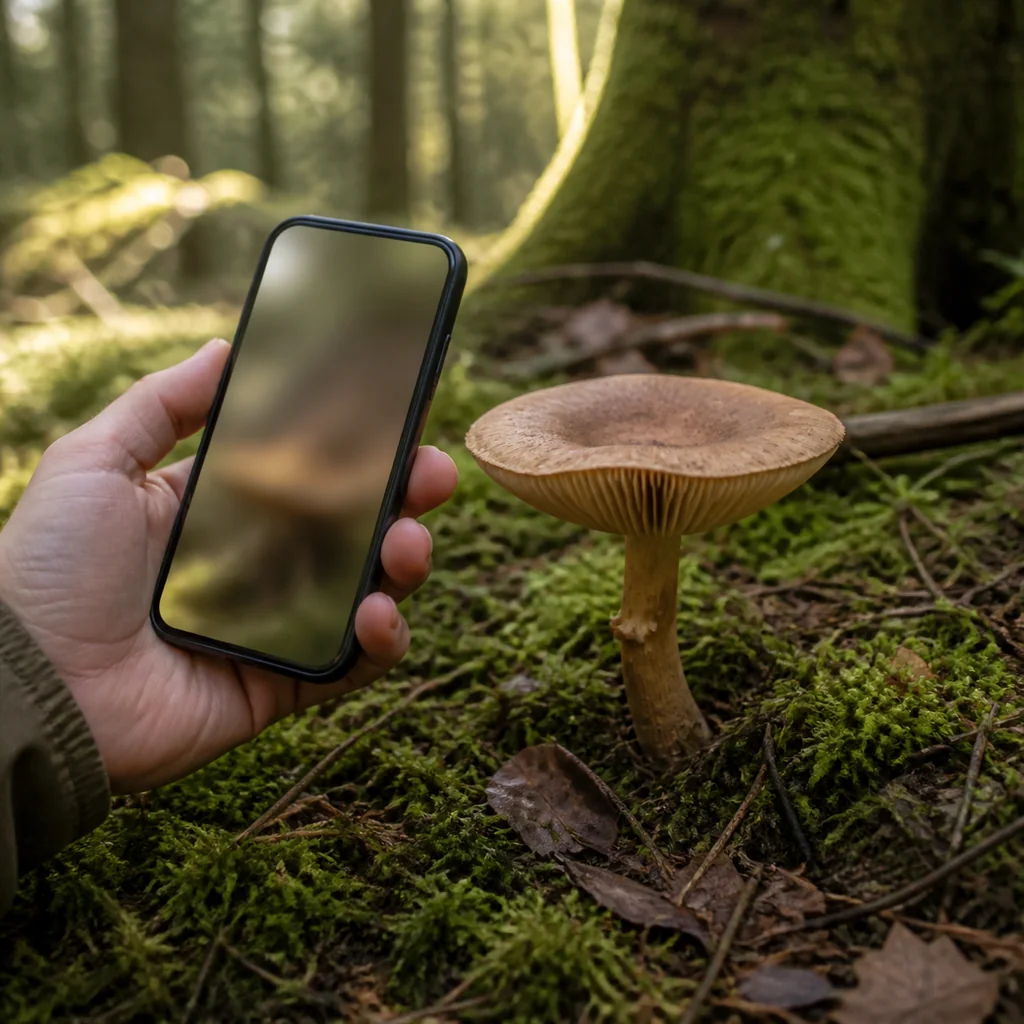
- Upload a sharp image that includes the feature the result needs to compare.
- Read lookalike and limitation notes before treating a name as useful.
- Save the photo sequence and field notes for a guide, club, extension service, or qualified expert.
Leave a light footprint
Mushroom picking, carrying, and ethical limits
If local rules allow collection, learn them before you arrive. Limits can vary by land manager, season, protected area, and private-property permission. When the rules are unclear, photographs are the safest default. Avoid trampling neighboring growth, damaging logs, or spreading a patch by moving soil and debris unnecessarily.
A paper bag or waxed paper can be useful for a qualified identification request because it allows airflow, while plastic can trap moisture. Follow the instructions of the local expert or poison service, and never mix an unknown specimen with food. NAMA's toxicology guidance recommends contacting a physician or local poison-control center after suspected consumption and preserving available material in paper or waxed paper while noting where it was found.
Know when to stop
When a field guide is not enough
Ask for local help when the identification affects eating, a child or pet, a medical symptom, a protected species, a legal collection question, or a rare habitat. A regional mycological club, extension service, qualified identifier, land manager, physician, or poison-control service can use information that an image cannot show. Tell them what you saw, what you photographed, where it grew in broad terms, and what remains uncertain.
If you suspect that someone consumed a poisonous mushroom, NAMA advises contacting a physician or local poison-control center first. After help is secured, an available sample and the place where it was found may help a qualified identifier. Keep the sample in paper or waxed paper rather than plastic and refrigerate it if local guidance requests that step. Do not wait for an online result before seeking urgent help.
Mushroom Foraging FAQ
Questions people ask before a mushroom walk
These answers keep the field workflow practical while separating visual research from eating, medical, and legal decisions.
What should I photograph first while mushroom foraging?
Start with a wide habitat frame, then photograph the cap from above and the side, the underside, the stem and visible base, and the surrounding growth pattern. Add date, substrate, nearby trees, weather, and approximate location notes.
Do I need to pick a mushroom to identify it?
No. Photograph it in place whenever possible. Do not disturb an unknown mushroom just to reveal a hidden feature, and follow local rules and qualified expert instructions if a specimen is genuinely needed.
Can an app identify a mushroom as safe to eat?
No. An app can suggest visual matches and lookalikes, but it cannot provide a toxicology assessment or guarantee edibility. Never eat a wild mushroom based only on an image or online result.
What field notes make a mushroom field guide more useful?
Record the substrate, nearby trees or plants, solitary or clustered growth, date, recent weather, cap and underside details, stem and base visibility, and which features remain uncertain. Honest gaps are more useful than invented precision.
Further reading
Use local, authoritative guidance when the stakes are higher
These references support the observation and safety boundaries in this guide. They do not turn a photo into a species or edibility certificate.
- North American Mycological Association: Mushroom PoisoningsContact a physician or local poison-control center after suspected consumption, and preserve available material for professional identification.
- MushroomExpert: Mushroom identification resourcesA specialist reference site for comparing mushroom features and terminology.